How to install a smart carbon monoxide sensor
Introduction to Installing a Home Automation Carbon Monoxide Sensor
How to install a smart carbon monoxide sensor is an essential step in managing any property, especially if it is intended for short-term rental. Whether you manage your property through platforms like Airbnb, Booking, Tripadvisor, Vrbo, or Expedia, ensuring your guests’ safety is crucial. In this article, we will guide you step by step through the installation of this important safety device.
Why install a smart carbon monoxide sensor?
Carbon monoxide is a colorless and odorless gas that can be deadly if inhaled in large amounts. Installing a smart carbon monoxide detector not only enhances the safety of your property but can also boost positive reviews from your guests on platforms like Honey Bnb.
Necessary Tools for Installation
Before starting the installation, make sure you have the following tools available:
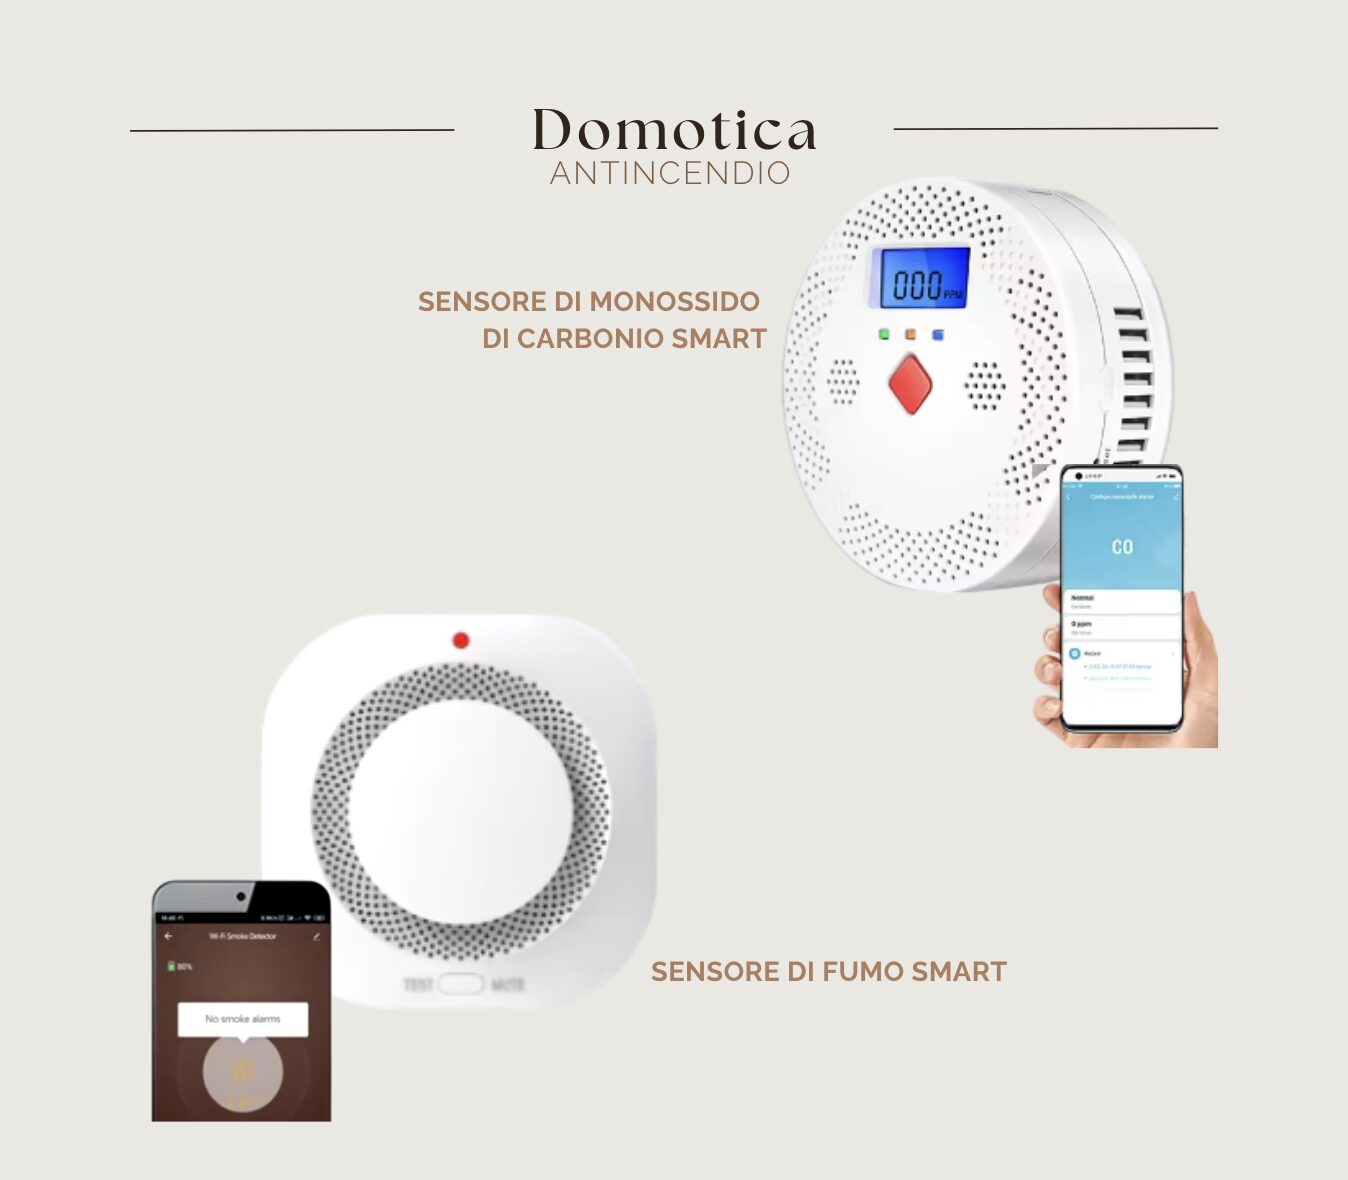
- Carbon monoxide sensor compatible with home automation systems
- Drill
- Screws and dowels
- Screwdriver
- Scala
How to Choose the Right Home Automation Sensor
Essential Features of a Home Automation Carbon Monoxide Sensor
When choosing a smart carbon monoxide sensor, look for devices that offer Wi-Fi connectivity, compatibility with smartphone apps, and the ability to integrate with other smart devices in your home. Additionally, ensure the sensor has a long-lasting battery and both audible and visual alerts.
Compatibility with Home Automation Systems
Make sure the sensor is compatible with the smart home system already installed in your house, such as Google Home or Amazon Alexa. This will allow you to receive immediate notifications on your smartphone in case carbon monoxide is detected.
Installation Procedure
Step 1 – Sensor Placement
Choose a central location in your home, preferably near the bedrooms or areas where guests spend the most time. Avoid installing the sensor near windows or ventilation systems, as they may affect the readings.
Step 2 – Device Assembly
Use the drill to make holes in the wall and insert the anchors. Attach the sensor mount to the wall with screws and secure the device to the mount. Check that it is firmly fixed and not tilted.
Step 3 – Sensor Configuration
Follow the manufacturer’s instructions to connect the sensor to your Wi-Fi network. Download the sensor app on your smartphone and complete the initial setup. Test the sensor to ensure it is working properly.
Maintenance and inspection of the sensor
It is essential to regularly check the operation of the carbon monoxide sensor. Check the batteries and test the device at least once a month. This will ensure the sensor is always ready to protect you and your guests.
The importance of comprehensive short-term rental management
Managing a short-term rental property requires attention to many details, and safety is one of the most critical aspects. With the support of Honey Bnb, we ensure that every aspect of your property is carefully handled, from security to booking management.
Conclusions
Installing a smart carbon monoxide sensor is an investment in the safety of your guests and the reputation of your property. By following these simple steps, you can ensure a safe and secure environment for anyone choosing to stay in your home.
Lascia un commento